manipulating 3D item is similar with manipulating Character, but simpler.
Outer Box :: Configure the area of the image (can be resized, rotated, or moved)
Inner Box :: Configure the image inside the area (can be resized. rotated, or moved)
Layer Properties
Stroke Width :: Configure the line width of the item
Transparency :: Configure the transparency level of the item
Blur :: Configure the blur level of the item
3D Settings
Camera Angle (first icon)
we can change the angle of the camera, the angle can be used as reference which will we edit manually later.
Change Model (second icon)
we can change the 3D item, the one chosen will have the size and location of the previous 3D item.
3D Outline Setting
Weight :: Configure the thickness of the outline
Darkness :: Configure the Darkness Level of the outline
Color :: Configure the color of the outline
BG Image
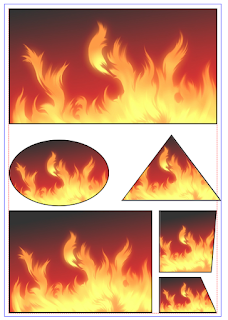
Background image will fully fill the panel when dropped, in any size and any form.
NOTE:: if the BG image has low-res, the image might get stretched if dropped at a huge panel
Item Image
2D Transformation
Normal Image (first icon)
This is the default image manipulation (resize, rotate, move)
Perspective Transformation Image (second icon)
This transformation give us a new manipulation box which similar with 3D item.
Added feature :: Can rotate the image which will change it's perspective, but still retain it's form
Vertex Transformation Image (third icon)
This transformation give us a new manipulation box.
Added feature :: each box on the corner (in area) can be drag & drop which will transform the image respectively.
If you want to see all of the editing in action, here is a short-video showing the editing I did
That's it, with these features to help us placing our item, 3D and 2D, we should be able to put the item in any location that we want.
Hope this help you!


No comments:
Post a Comment